Table of Contents
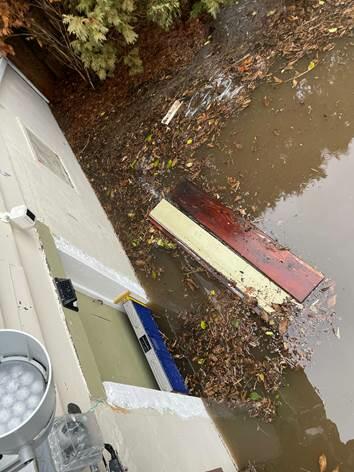
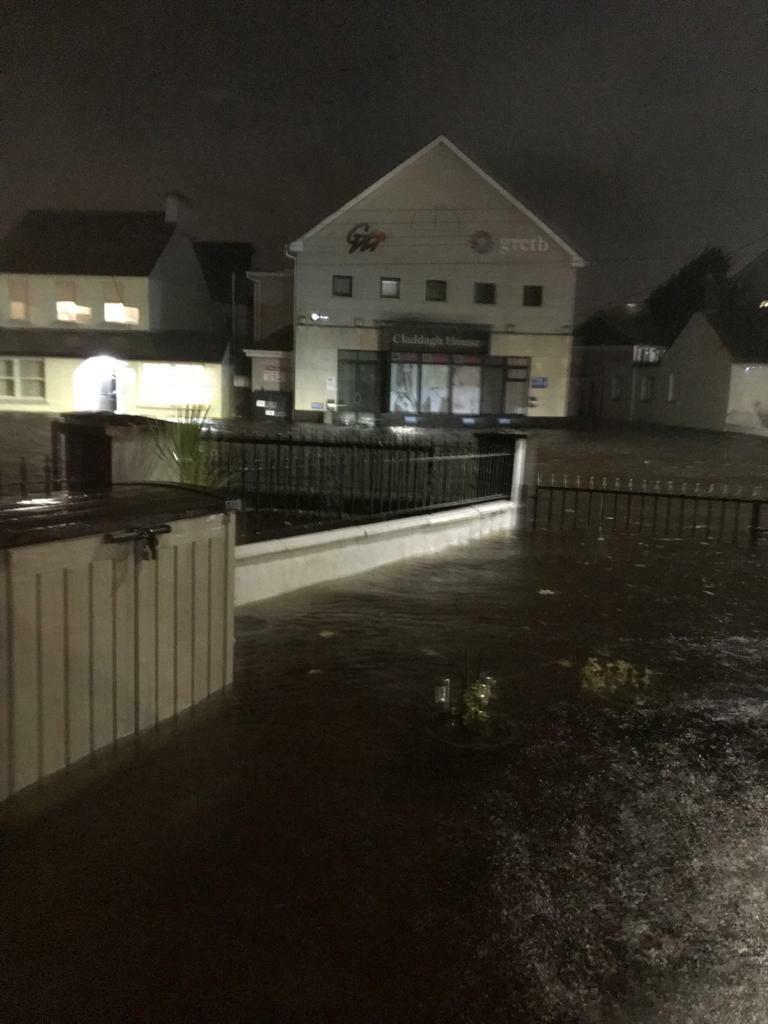
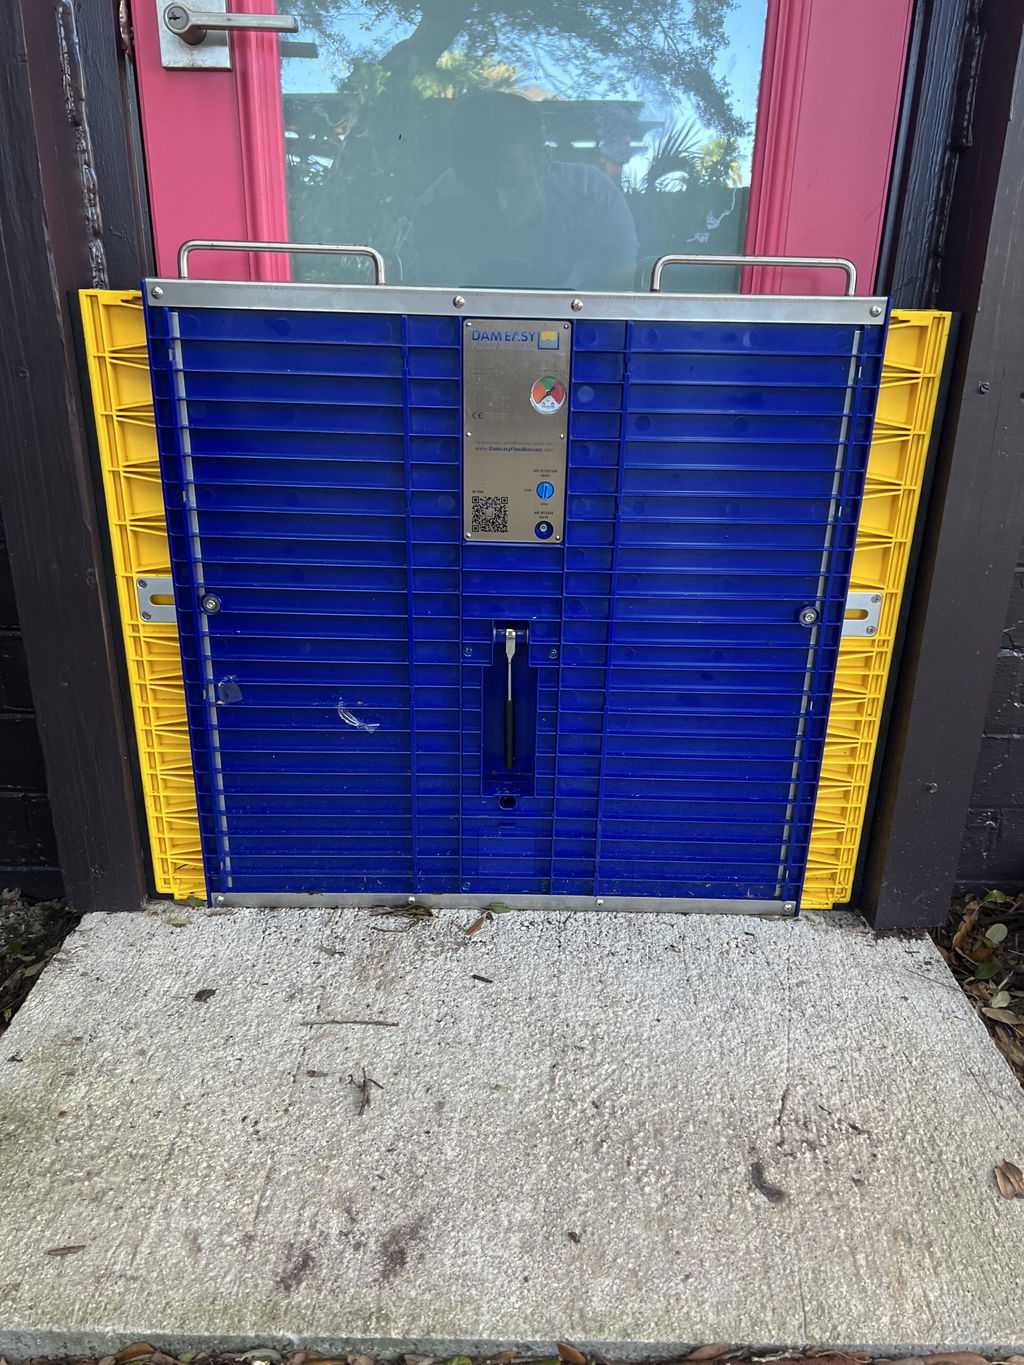
Flooding is one of nature’s most destructive forces, capable of turning a home or business into a disaster zone in minutes. For homeowners and business owners in flood-prone areas of the United States and Australia, preparation isn’t just wise—it’s essential. That’s where Dam Easy® Flood Barriers come in. These barriers are designed to be lightweight, user-friendly, and incredibly effective. But sometimes they may need a bit of help - an extension pole.
In this guide, we’ll walk you through the straightforward process of installing Dam Easy® Flood Barriers, including the Extension Pole for wider openings. We’ll also highlight the key benefits of these barriers, from their no-fuss setup to the long-term savings they offer. Let’s dive in!
Why Proper Installation Matters
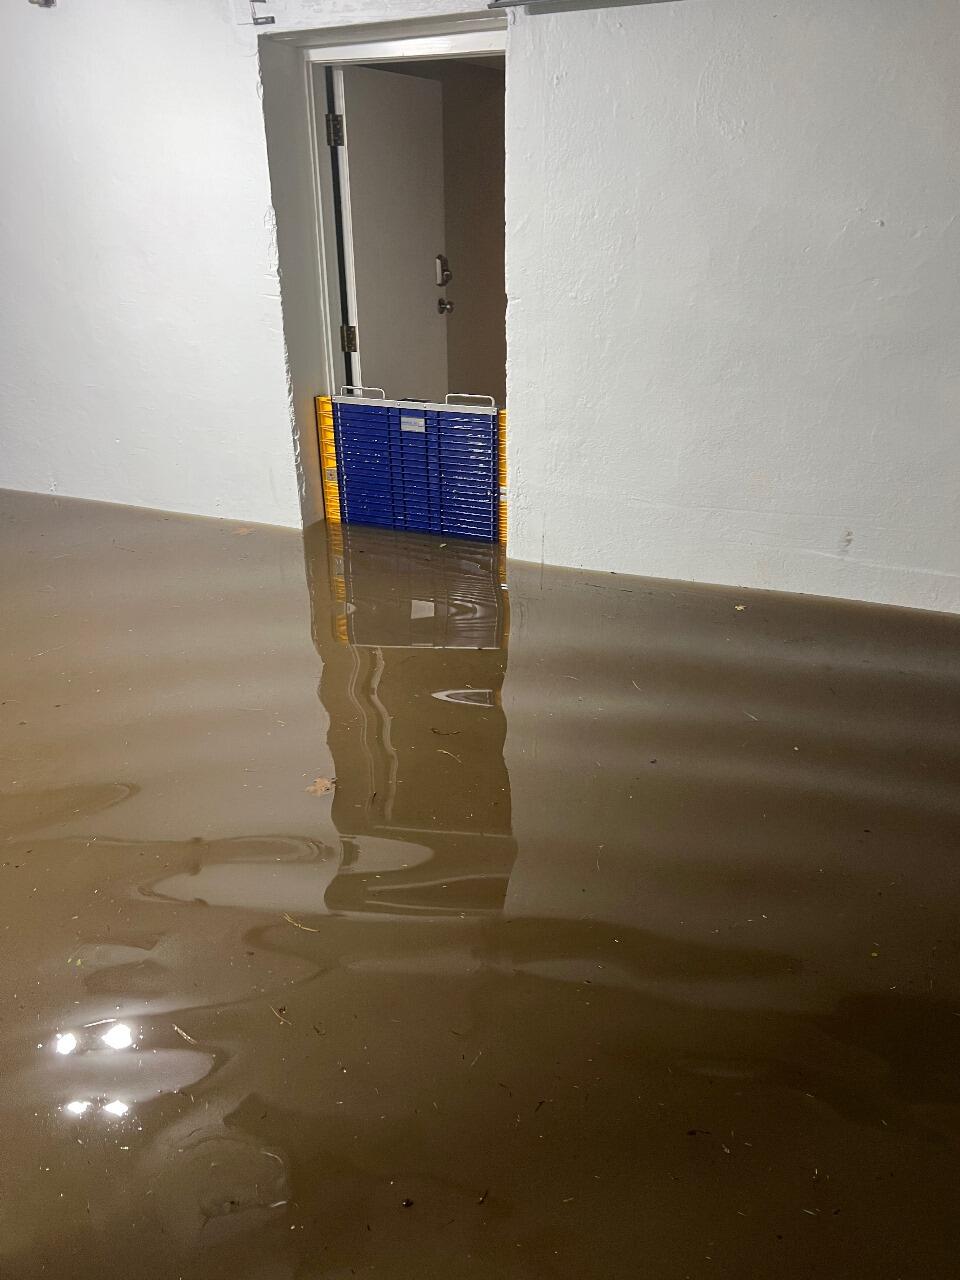
Before we get into the “how,” let’s talk about the “why.” A flood barrier is only as strong as its weakest point. Even a small gap or misalignment can let water seep through, turning your first line of defense into a costly liability. Proper installation ensures:
A watertight seal to keep your property dry.
Durability to withstand rising water pressure.
Reusability for future flood events (no need to reinstall components like the base socket).
The good news? You don’t need to be a construction expert or own heavy machinery to get this right.
Dam Easy® barriers are designed for everyday people—whether you’re a homeowner in Florida’s hurricane belt or a shop owner in Queensland’s floodplains.
When to Use the Extension Pole
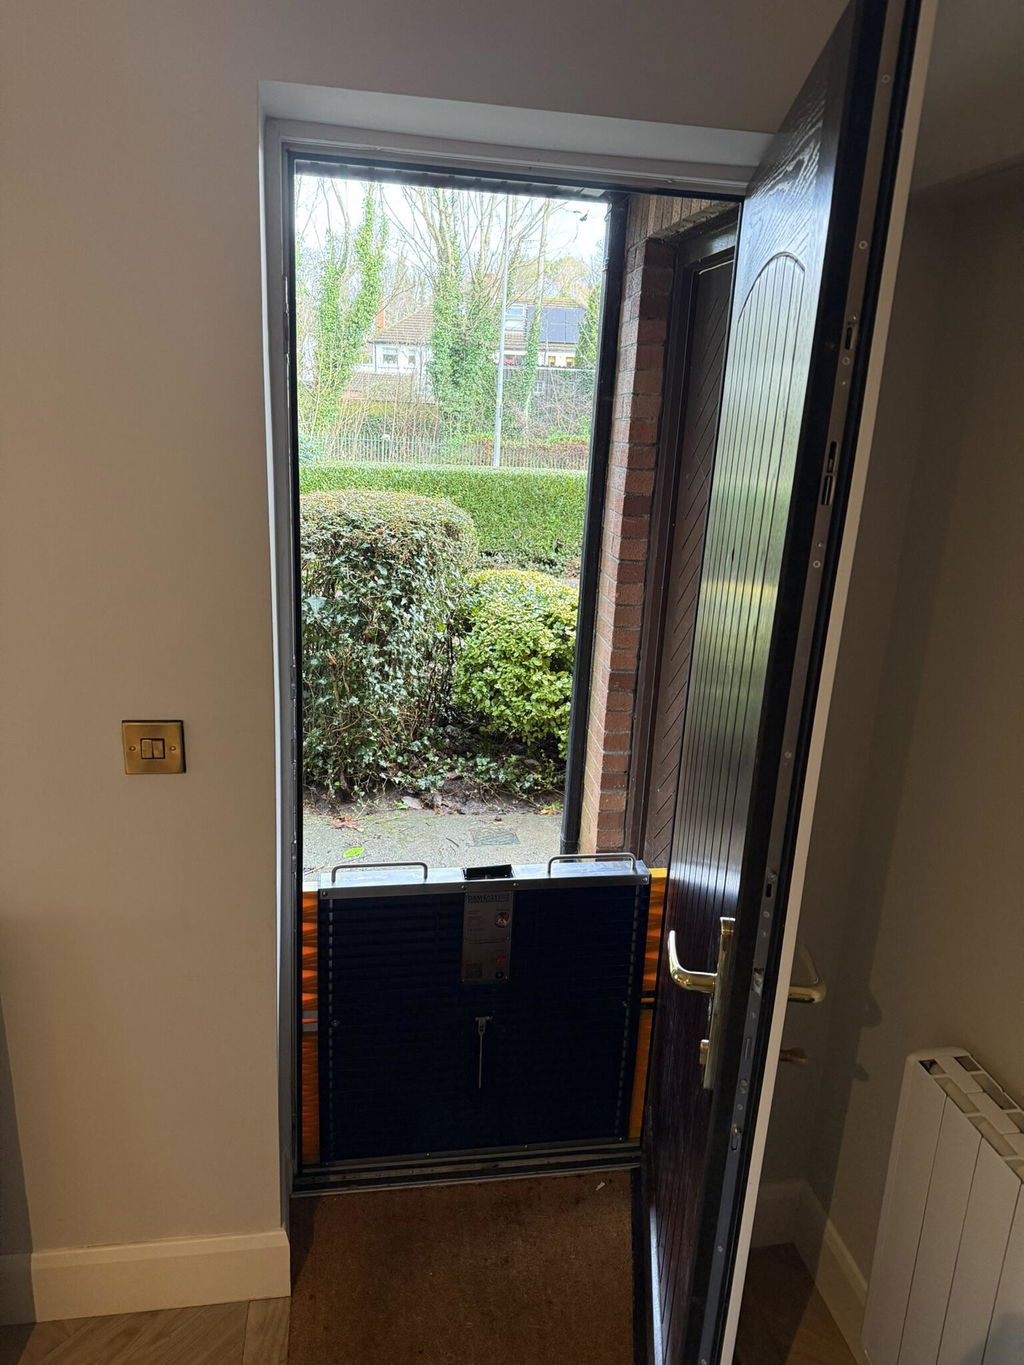
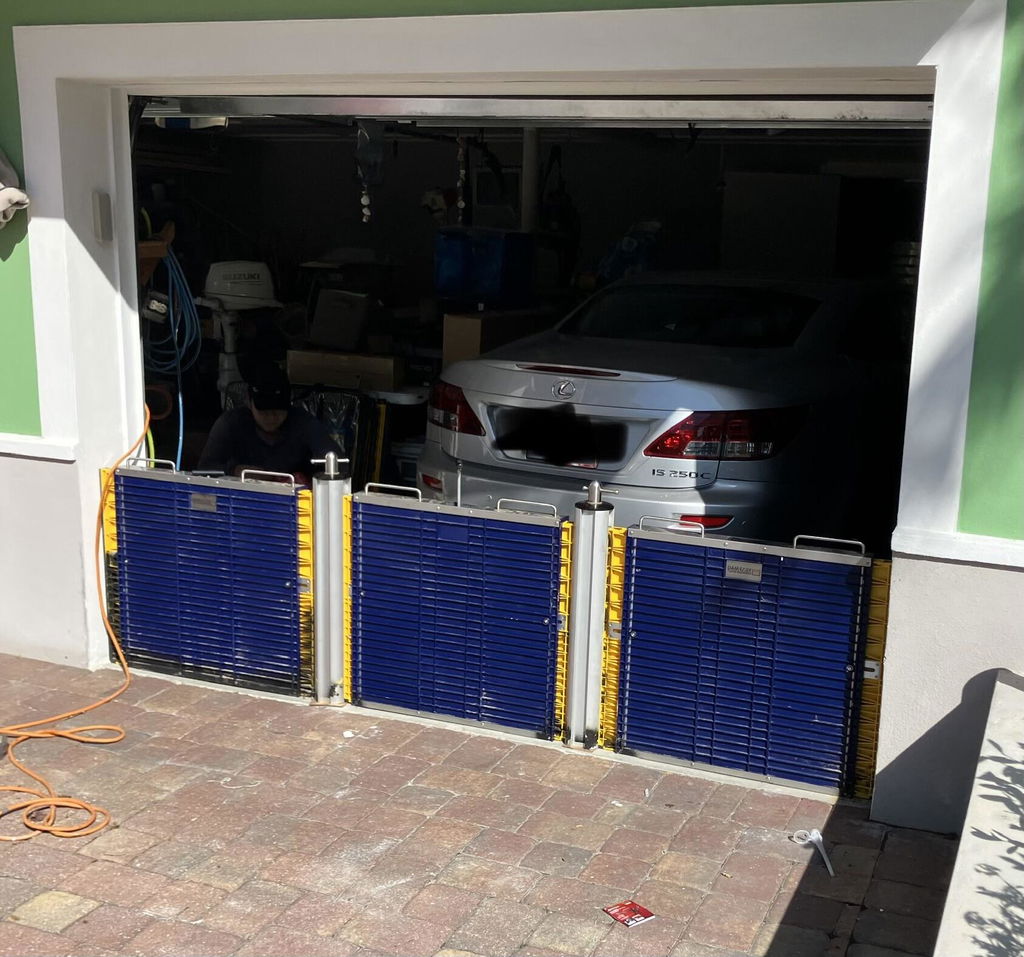
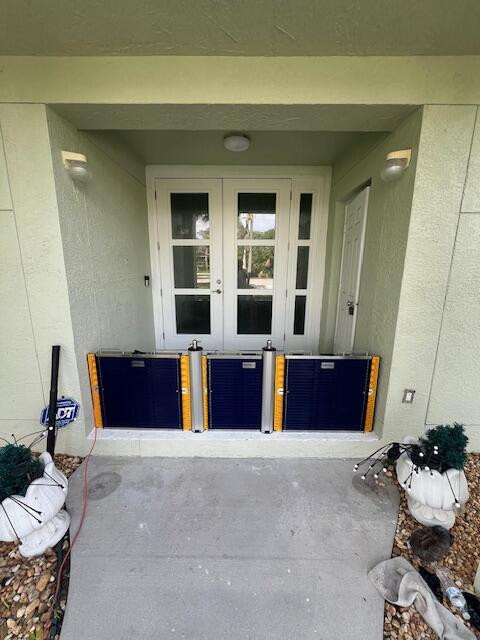
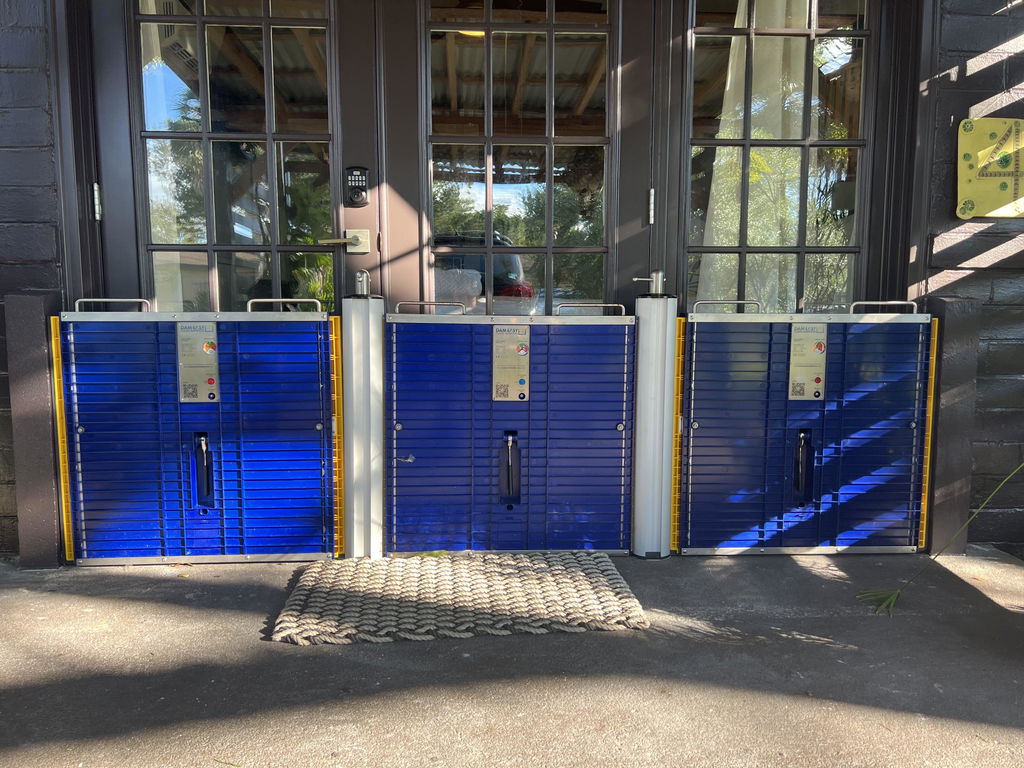
The Dam Easy® Extension Pole is your go-to solution for covering openings wider than 1.7 meters (67 inches). Think garage entrances, storefronts, or patio doors. By connecting multiple barriers, the extension pole ensures seamless protection across larger spaces.
Pro Tip: If you’re unsure whether your opening requires an extension pole, measure the width. If it exceeds 1.7 meters, you’ll need one.
Tools You’ll Need
Rest easy—you won’t need a toolbox bigger than what’s already in your garage. Here’s what to gather:
A power drill (for drilling into concrete).
A broom or brush (to clean debris).
A level (to ensure poles are straight).
The Dam Easy® installation kit (includes the base socket, extension pole, plastic disk, and chemical injection mortar).
That’s it! No specialized skills or expensive equipment required.
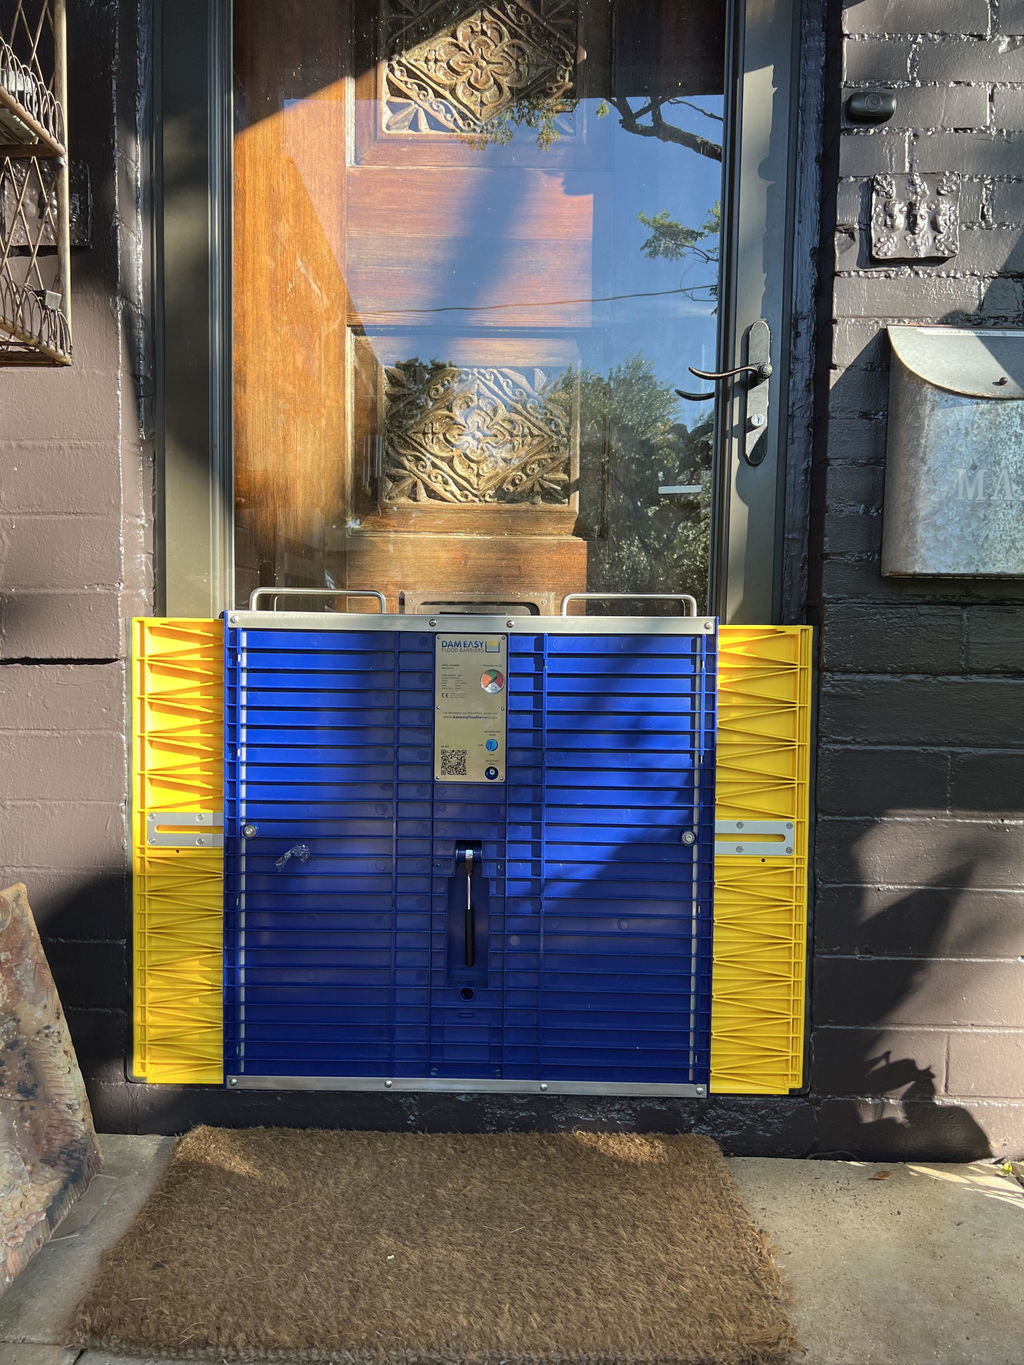
Ultimate Flood Barrier

$1,260.00
Floods are becoming more common around the world. What was once a 100-year phenomenon is now a seasonal trend that homeowners must deal with. That’s EXACTLY why you need this Dam Easy Ultimate Flood Barrier! An excellent alternative to heavy… Read More
Step-by-Step Installation Guide
Part 1: Base Socket Installation (One-Time Setup)
The base socket is the foundation of your flood barrier system. Once installed, it stays in place permanently, ready for quick barrier deployment during future floods.
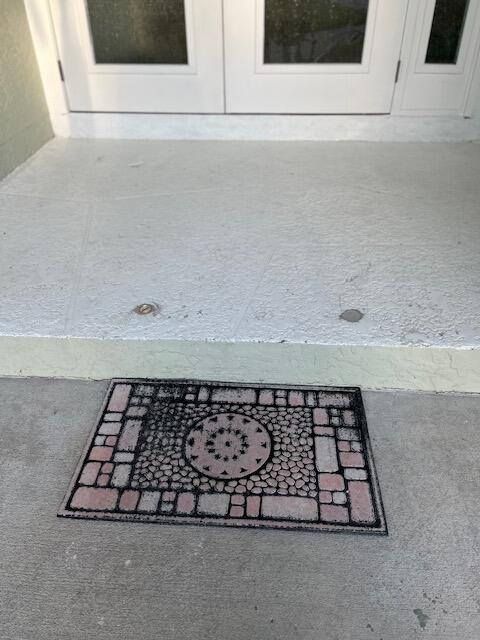
Step 1: Drill the Hole
Use your power drill to create a hole in the ground or concrete where you want the barrier.
Why it matters: A clean, properly sized hole ensures the base socket sits securely.
Step 2: Clean the Hole
Sweep out any dirt or debris. A vacuum or brush works perfectly.
Why it matters: Debris can weaken the bond between the socket and mortar.
Step 3: Apply Chemical Injection Mortar
This strong adhesive (included in your kit) acts like industrial-strength glue. Inject it into the hole.
Why it matters: The mortar creates a rock-solid anchor that won’t budge under pressure.
Step 4: Insert the Base Socket
Place the plastic disk (provided) over the hole. This prevents the extension pole from sticking to the mortar.
Insert the base socket into the hole, ensuring it’s flush with the ground.
Pro Tip: Attach the extension pole to the socket temporarily to hold it upright while the mortar sets (about 24 hours).
Step 5: Let the Mortar Cure
Resist the urge to rush this step! Give the mortar a full day to harden.
Once set, you can remove the pole—the socket remains fixed and ready for future use.
Part 2: Installing the Extension Pole and Barriers
Now that your base socket is ready, it’s time to assemble the system.
Step 1: Attach the Extension Pole
Insert the pole into the base socket. Use your level to ensure it’s perfectly vertical (a 90-degree angle to the ground).
Why it matters: A tilted pole compromises stability and alignment.
Step 2: Secure the Pole
Twist or screw the pole into place until it feels snug. No wiggling allowed!
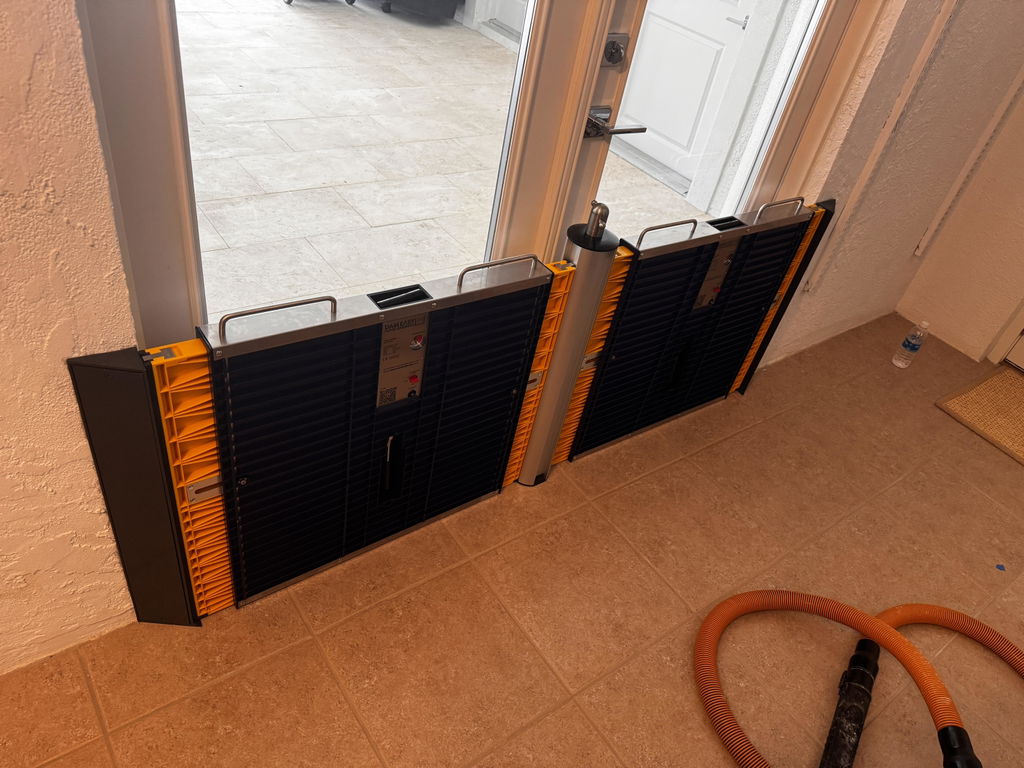
Step 3: Connect Multiple Barriers
Link your Dam Easy® barriers end-to-end, sliding them into the extension pole’s receiver.
Ensure each barrier’s rubber seal is facing outward (toward the water source).
Step 4: Double-Check Alignment
Walk the length of the barrier to confirm there are no gaps between units.
Key Mistakes to Avoid
Installing in Door Frames: Avoid timber or aluminum frames—they lack the strength to handle water pressure. Opt for solid concrete or brick surfaces.
Skipping the Level: Eyeballing the pole’s angle might seem faster, but a 2-minute check with a level prevents headaches later.
Rushing the Mortar Cure Time: Patience pays off. Let the mortar set fully!
Why Dam Easy® Barriers Are a Smart Investment
No Specialized Skills Needed
Forget hiring contractors. If you can assemble Ikea furniture, you can install these barriers. The instructions are straightforward, and the materials are user-friendly.Lightweight and Portable
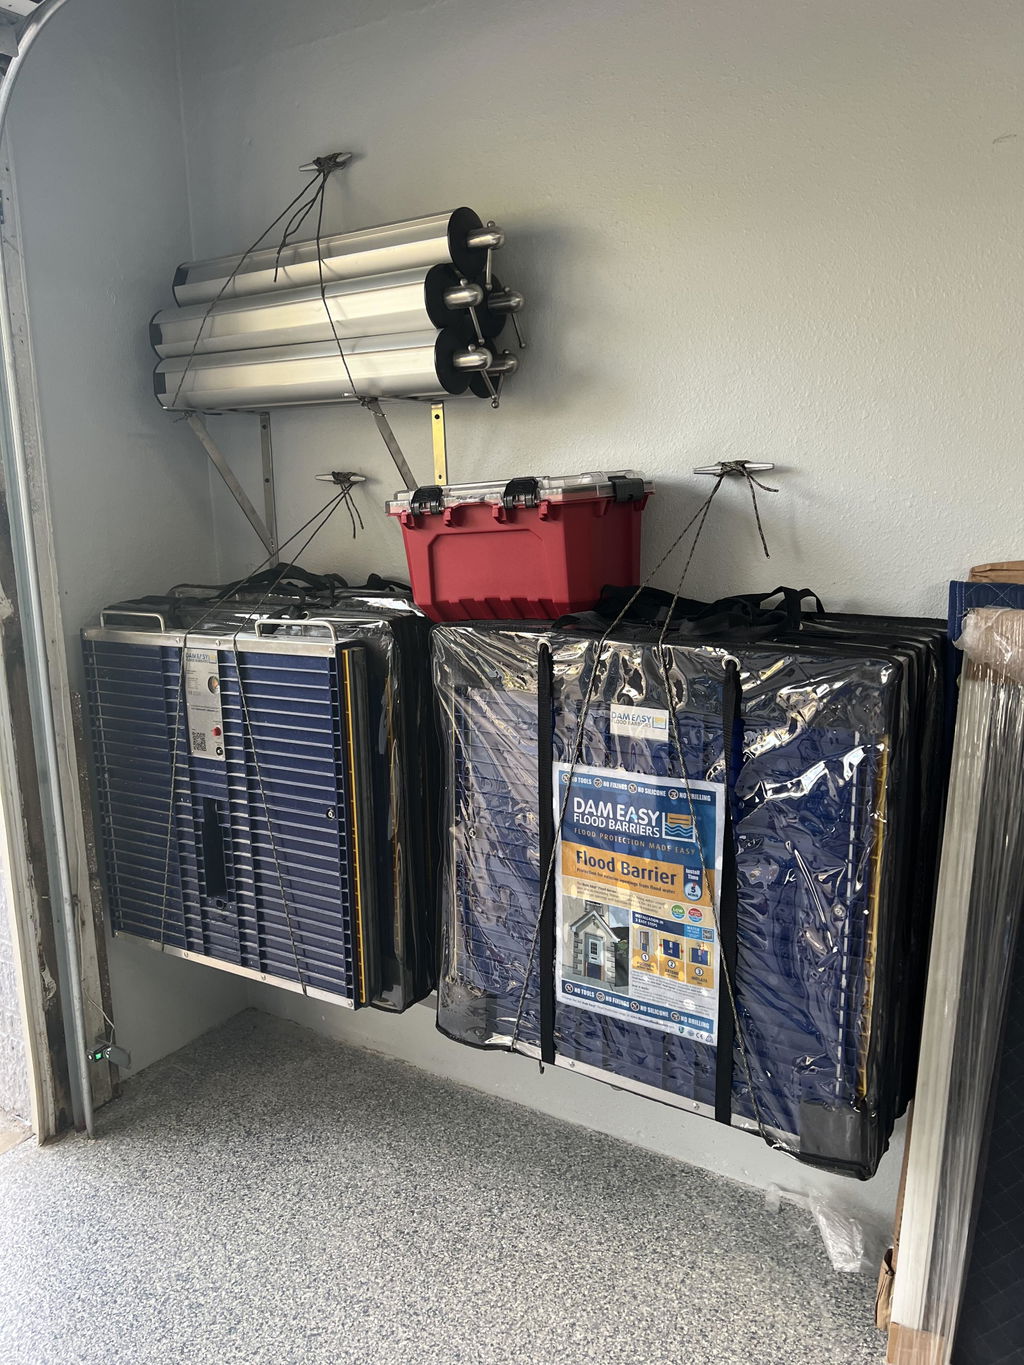
Each barrier section weighs less than a suitcase, making setup a one- or two-person job. Store them compactly when not in use.Cost Savings Over Time
Consider this: The average flood insurance claim in the U.S. is over 30,000. In Australia, repairs from a single flood event can exceed AUD 30,000. In Australia, repairs from a single flood event can exceed AUD 50,000. A Dam Easy® system costs a fraction of that and lasts for years.Peace of Mind
When flood warnings hit, you’ll have a reliable defense ready in minutes—not days.
Final Tips for Flood-Preparedness
Practice Makes Perfect: Do a trial run during dry weather. Familiarity speeds up deployment when every second counts.
Inspect Annually: Check barriers and sockets for wear or debris before flood season.
Stay Informed: Monitor local weather alerts in flood-prone regions like the Gulf Coast or New South Wales.
Conclusion: Protect What Matters Most
Installing Dam Easy® Flood Barriers isn’t just about following steps—it’s about safeguarding your family, business, and peace of mind. With this guide, you’re equipped to tackle the process confidently, knowing the system is built to work as hard as you do.
So next time storm clouds gather, you’ll be ready. And remember: floods are inevitable, but disaster doesn’t have to be.
Dam Easy®—because staying dry should be easy.